Capturing DMX with a Flex or FlexMax
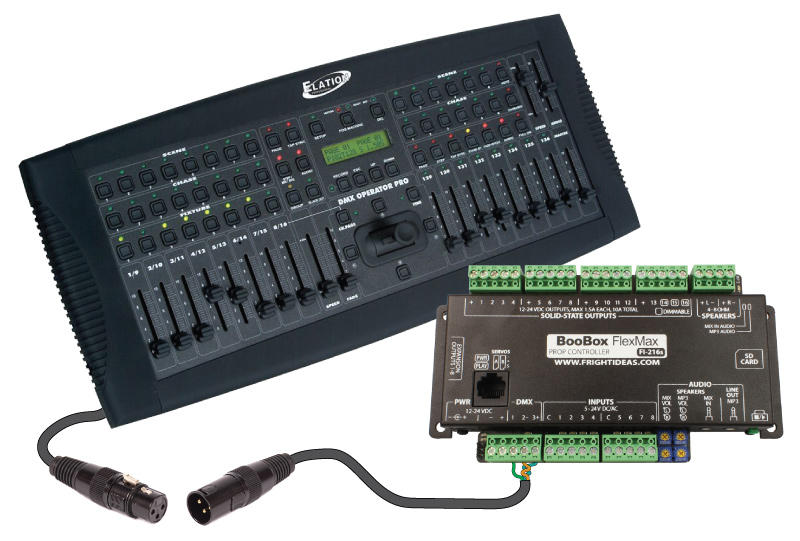
Do you prefer to author your show using professional DMX hardware or software? You can now capture a DMX stream from any DMX source and make it part of your show in Director.
More and more professional show designers are using our products to run large DMX shows. And while Director does allow you to edit DMX, it is not designed to have the same features as professional DMX software or hardware. This is where our new DMX capture feature comes in. Using a Flex or FlexMax, you can capture a DMX stream from any DMX source and include it as part of your show in Director.
How it Works
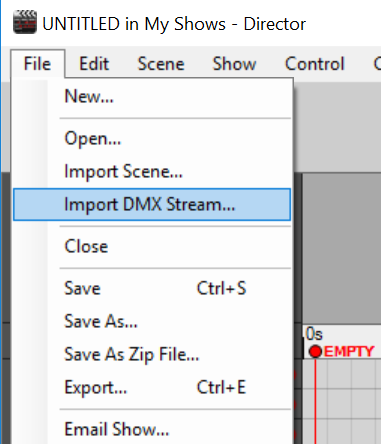
The new Import DMX Stream feature in Director's File menu copies a special capture file to an SD card. When a Flex or FlexMax sees this file it boots up into a DMX capture mode. You can then start and stop the capture using the green button on the controller, or by moving the value of DMX channel 1 above and below certain thresholds. Once a capture is completed you put the SD card back in the computer and Director imports the data.
Before You Start
Making the Connection
You can connect the controller to your DMX source a few different ways...
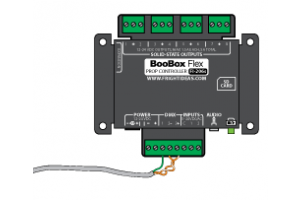
- Use the DMX Output cable you should already have for the controller with a 3 pin Gender Changer on the end.
- Cut a DMX cable in half and use the DMX In side. Determine which wires go to pins 2 & 3 pins on the connector and connect those to the controller's terminal block. The Shield goes to pin 1.
Wait to Connect your DMX Source
By default our controllers boot up in a DMX output mode. You must wait until the controller is in capture mode before you connect your DMX source.
DMX Channel 1
Channel 1 will not be saved during a capture. That channel is reserved for conveying control information during normal operation and thus cannot be used by your scene. You can either leave that channel unused or use it to trigger the beginning and end of capture. Once armed, increasing channel 1 above 192 will start the capture, lowering it below 64 will stop it.
Slow SD Cards
Some SD cards are not fast enough for real-time capture, causing the controller to lose a few frames occasionally. If this happens, Director interpolates the missing frames during the import to make sure everything is kept in sync. If too many frames are lost the controller will abort the capture. In our tests, about 7 out of 10 SD cards captured perfectly, 2 captured with a few dropped frames, and 1 couldn't capture at all. If you have class 4 or higher SD cards, we'd recommend those over slower ones.
Performing a Capture
Step 1 - Create the Capture File
Open the Import DMX Stream dialog from the File menu. Insert an SD card and click the Create Capture File button. Eject the SD card from the computer and insert it into the BooBox. If this is the first time you've done this the green play light might blink for a minute or so as the controller updates its firmware.

Step 2 - Ready to Arm
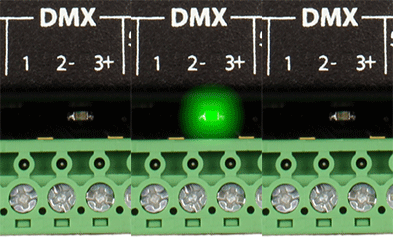
The DMX light should start blinking once. It is now safe to connect your DMX source to the controller.
NOTE: If it's blinking 5 times you will need to format the SD card and re-create the capture file.
Step 3 - Arming for Capture
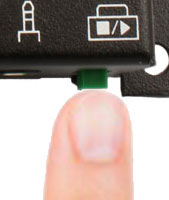
Press the green button to arm the controller for DMX capture. The DMX light should turn on solid.
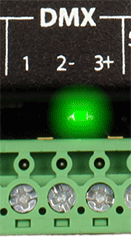
Step 4 - Starting the Capture
To start the capture you have two options. Either press the green button again or bring the value of DMX channel 1 above 192. When the capture starts the DMX light will start flashing rapidly.
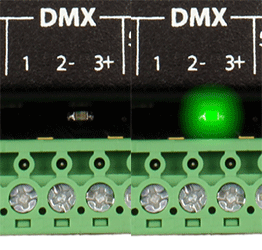
Step 5 - Stopping the Capture
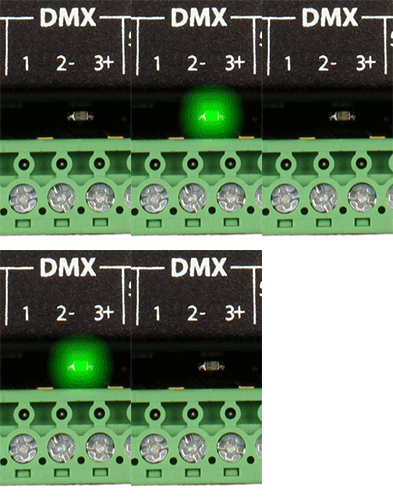
To stop the capture you can press the green button or bring the value of DMX channel 1 below 64. If the capture was successful the DMX light should be blinking twice.
NOTE: If it's blinking 4 times the SD card was too slow. Sometimes additional attempts will be succesful. If not, try another SD card.
Step 6 - Try Again or Import
To try again go back up to step 3. To Import this capture into Director remove the SD card from the controller and put it back in the computer.
Step 7 - Specify Channels to Import
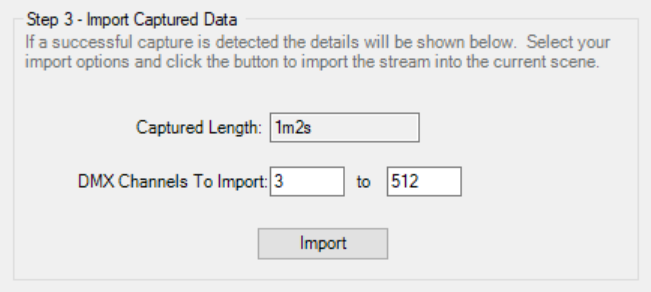
Director will read the capture file and determine which DMX channels were active. It will populate the Channels To Import with those values. You can adjust the range or just press Import. Director will add more DMX channels to your show if necessary, then import the data.

Step 8 - Delete the Capture File
If everything turned out and that was the only scene you needed to import, remember to delete the capture file using step 4 of the import dialog.
If you'd like to repeat the process for other scenes, be sure to select that scene in Director, put the SD card back in the controller, then start again from Step 2. There is no need to re-create the capture file.

